How to install a high powered hand dryer?
Hey there! If you're reading this, chances are you're either a business owner looking to spruce up your restrooms or someone who's just really into high - tech hand - drying solutions. I'm a supplier of high powered hand dryers, and I'm here to walk you through the installation process.
First things first, let's talk about why you'd want a high powered hand dryer in the first place. These bad boys are fast, efficient, and eco - friendly. They can dry hands in a matter of seconds, which means less waiting time for your customers or family members. Plus, they cut down on the use of paper towels, saving you money in the long run and doing a little something for the environment.
Step 1: Choose the Right Hand Dryer
Before you start any installation, you need to pick the perfect high powered hand dryer for your needs. We've got a great range of options, like the Dual Infrared Sensors Hand Dryer. This one uses advanced dual infrared sensors, so it's super sensitive and can detect hands quickly. It's a great choice for high - traffic areas because it reduces the risk of cross - contamination.
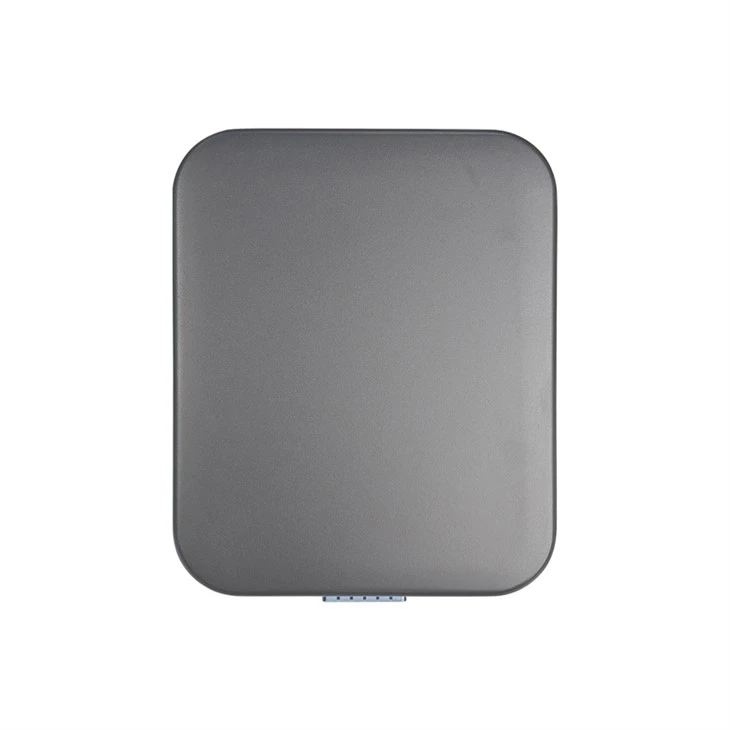
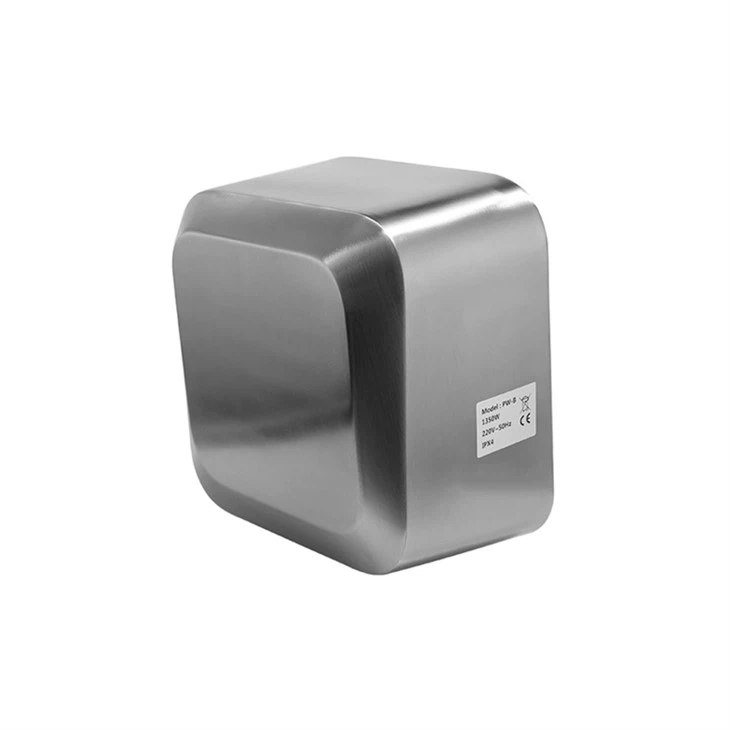
Then there's the Electric Quick Hand Dryer. As the name suggests, it's all about speed. With its powerful motor, it can dry hands in no time. And for those who are worried about durability, our Durable Stainless Steel Hand Dryer is the way to go. Made from high - quality stainless steel, it can withstand a lot of wear and tear.
Step 2: Gather Your Tools
Once you've chosen your hand dryer, it's time to gather the tools you'll need for the installation. You'll typically need a drill, screws, a screwdriver, a level, a stud finder, and a voltage tester. The drill will come in handy for making holes in the wall, the screws and screwdriver are for attaching the hand dryer, the level ensures it's straight, the stud finder helps you locate the wall studs for a secure installation, and the voltage tester is used to check if the electrical supply is safe.
Step 3: Find the Right Location
Picking the right spot for your hand dryer is crucial. You want to place it at a convenient height, usually around 32 to 36 inches from the floor. This makes it easy for people of different heights to use. Also, make sure it's away from water sources like sinks to prevent any electrical hazards.
Use your stud finder to locate the wall studs. Installing the hand dryer on a stud provides a much stronger and more stable mount. If you can't find a stud at the exact location you want, you can use wall anchors, but they're not as strong as a direct stud mount.
Step 4: Prepare the Electrical Connection
Before you start any electrical work, make sure to turn off the power at the circuit breaker. Use your voltage tester to double - check that there's no electricity flowing to the area where you'll be working.
Most high powered hand dryers come with a power cord. You'll need to connect this cord to an electrical outlet. If you're installing it in a commercial setting, you might need to hire a licensed electrician to ensure the wiring is up to code.
Step 5: Mount the Hand Dryer
Now, it's time to mount the hand dryer on the wall. Hold the hand dryer against the wall at the chosen location and use the level to make sure it's straight. Mark the holes for the screws on the wall.
Take the hand dryer off the wall and use your drill to make holes at the marked spots. If you're mounting on a stud, use the appropriate screws for the material. If you're using wall anchors, insert them into the holes first and then screw them in.
Once the holes are ready, hold the hand dryer back against the wall and insert the screws. Tighten them securely, but be careful not to overtighten and damage the hand dryer or the wall.
Step 6: Test the Hand Dryer
After mounting the hand dryer and making the electrical connection, turn the power back on at the circuit breaker. Wave your hand in front of the sensor (if it's a sensor - operated model) or press the switch (if it's a manual model). The hand dryer should start up and blow air.
Check for any unusual noises or vibrations. If everything seems to be working fine, you're good to go! But if you notice any problems, turn off the power immediately and double - check your installation.
Step 7: Maintenance Tips
Once your high powered hand dryer is up and running, it's important to keep it well - maintained. Regularly clean the air intake and outlet to prevent dust and debris from building up. This can help the hand dryer run more efficiently and extend its lifespan.
If you have a sensor - operated hand dryer, check the sensors periodically to make sure they're working properly. You can do this by waving your hand in front of the sensor and seeing if the hand dryer turns on and off as expected.
In conclusion, installing a high powered hand dryer isn't as difficult as it might seem. With the right tools, a little know - how, and some patience, you can have a top - of - the - line hand dryer in your restroom in no time.
If you're interested in purchasing one of our high powered hand dryers or have any questions about installation or maintenance, don't hesitate to reach out. We're here to help you make the best choice for your needs.
References
- General knowledge about hand dryer installation and maintenance.
- Product specifications of our high powered hand dryers.